
How to Do a Dutch Braid on Yourself
How to do a dutch braid on yourself begins with mastering the underhand cross, helping you create clean, raised plaits while easing arm strain. This clear, step-by-step guide from BabunobGem helps beginners practice hand placement, balance strand tension, and finish the look with simple, handmade botanical accents.
Key highlights
- Mastering the underhand motion that makes the braid sit on top of your hair.
- Hand positioning tactics that can reduce arm fatigue while braiding down your back.
- Step-by-step sectioning methods for creating a balanced single Dutch plait.
- Light-handed techniques to pancake braid loops for added fullness.
- Choosing soft fabric accessories to finish the ends of your braid.
Understanding the Mechanics of a Dutch Braid
A Dutch braid is a three-strand plait created by weaving outer hair sections underneath the center strand, which forces the braid structure to sit elevated on top of the scalp.
When learning how to do a dutch braid on yourself, understanding hair direction is essential. Many people call this style a reverse braid, inverted plait, or inside-out braid. While a traditional French braid weaves hair over the middle section to produce a flat pattern, the Dutch technique crosses every new addition underneath. This underhand movement pushes the woven texture upward, creating distinct ridges and pronounced dimension against the head.
Working on your own head introduces unique tactile challenges. You cannot easily see the back of your scalp, which means you must rely on finger placement and muscle memory. In our studio, we work with textile tension every day, and we find that plaiting hair shares the same core discipline as thread work: consistent angles and balanced tension tend to give a neater, more even result.
What Is Dutch Braids and the Underhand Crossing Motion?
To grasp what is dutch braids in practical terms, you only need to observe the path of each strand. When creating a standard three-strand plait, your wrists rotate inward so strands cross over the center. In contrast, when you dutch braid on yourself, your thumbs and index fingers manipulate each strand beneath the middle piece. This underneath path forces the weave forward, creating a dimensional ridge that stands proud against your head. Learning how to start a dutch braid cleanly relies entirely on this underhand rhythm, establishing a sturdy base right from the crown.
Dutch Braid vs. French Braid: Structural Differences
The visual distinction between these two classic styles comes down to depth. A French braid embeds itself into the surrounding hair, creating a smooth, streamlined surface. A Dutch plait elevates the weave, creating sculptural definition that showcases hair texture and volume. Because the Dutch braid sits elevated, it also offers a natural anchor for decorative hair accessories, such as embroidered clips or soft ties, without burying them beneath surrounding layers. Soft ties work well at the end of a braid, and the types of hair elastics are explained here.
| Braid Style | Weaving Direction | Visual Dimension | Hand Positioning |
|---|---|---|---|
| Classic Dutch Braid | Outer strands cross under center | High 3D ridge resting on scalp | Palms facing toward head |
| French Braid | Outer strands cross over center | Smooth, flat woven finish | Palms facing inward or down |
| Standard 3-Strand Plait | Outer strands cross over center | Flat hanging tail | Hands held at chest level |
| Dutch Lace Braid | Cross under, adding hair from one side | Raised crown or headband ridge | Fingers guiding along hairline |
| Double Dutch Plaits | Underhand weaving along twin parts | Two parallel structured braids | Working on side profiles |
| Fishtail Braid | Tiny outer sections cross over center | Intricate woven texture | Two-strand hand grip |
| Dutch Fishtail Braid | Tiny outer sections cross under center | Pronounced spine appearance | Underhand two-strand hold |
| Four-Strand Braid | Alternating over and under weave | Wide ribbon silhouette | Multi-finger strand separation |
| Rope Twist Braid | Twisting two strands in opposition | Spiral rope appearance | Dual-finger rotational grip |
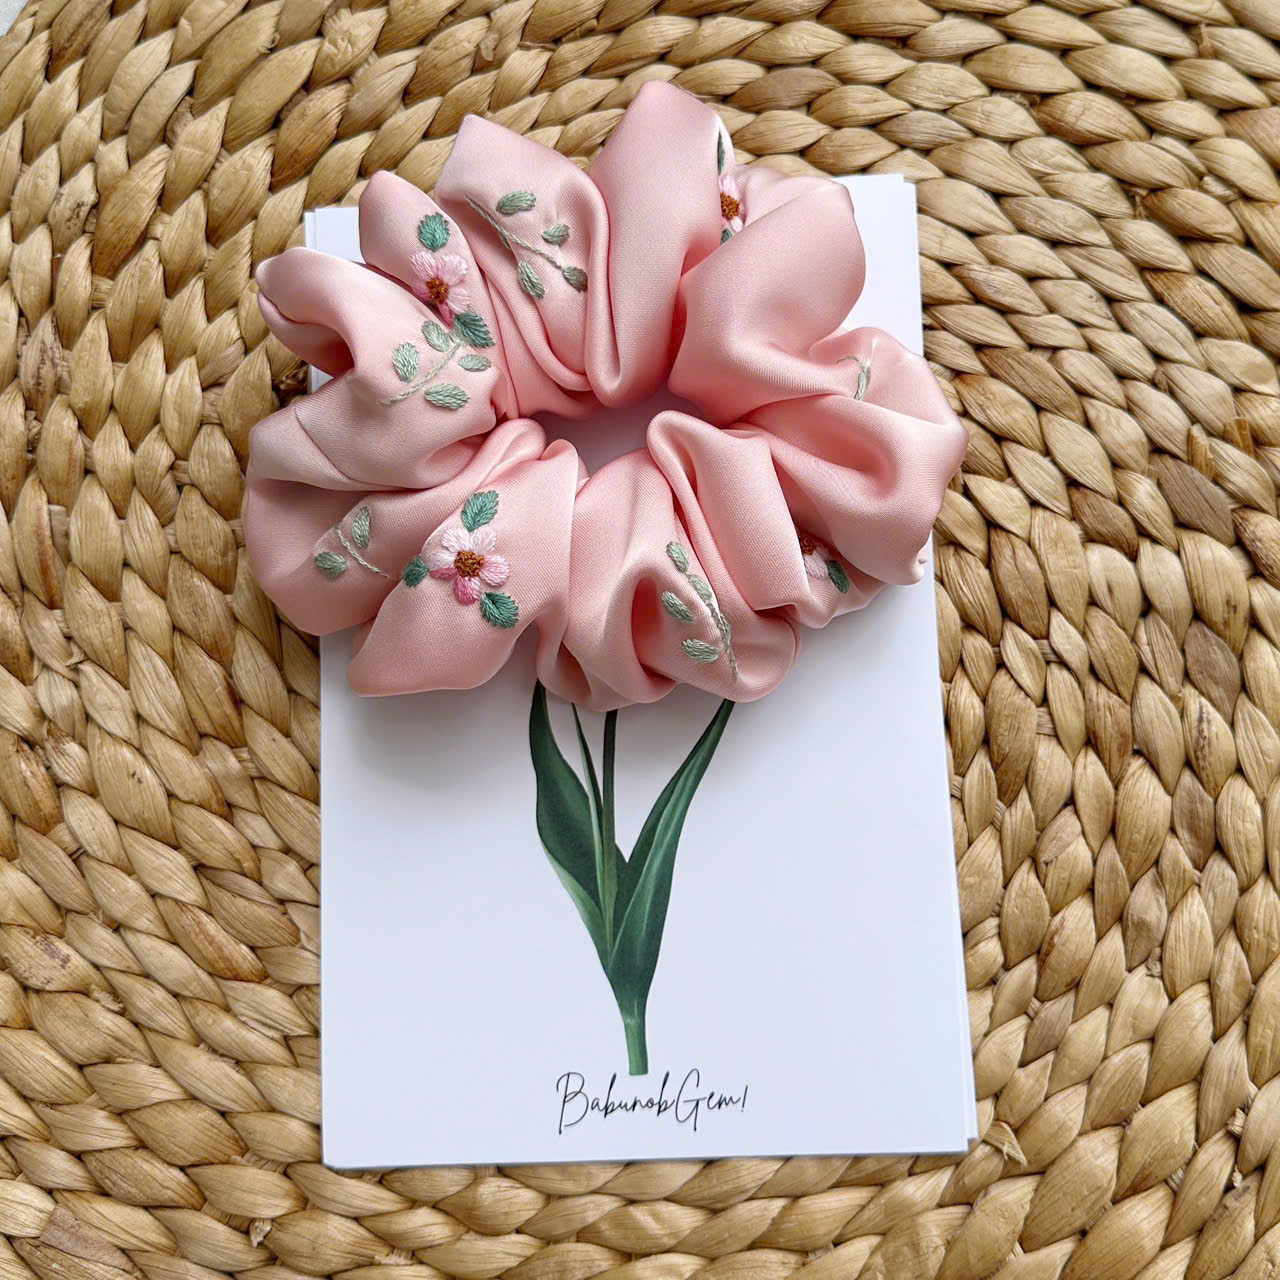
A scrunchie is a simple way to finish a braid tail. Hand-embroidered with wildflower motifs and available in 6 colors, this one adds a touch of cottagecore charm.
How to Dutch Braid on Yourself: Step-by-Step Guide
To do a Dutch braid on yourself, divide a crown section into three equal strands, weave each outside strand underneath the center strand, and continuously gather smooth side sections into the weave until you reach the ends.
Executing a 1 dutch braid down the center of your head requires patience and steady finger placement. When you first attempt a dutch braid tutorial on yourself, your hands may feel clumsy as they work behind your head. Breaking the process down into discrete, manageable steps allows your muscles to learn the routine without rushing. Follow this sequential guide to achieve a neat, balanced braid on your own hair. Once this weave feels natural, you can learn how to do the ponytail braid with the same technique.
Step 1: Prepare Your Hair Texture and Parting
Begin by brushing thoroughly to remove knots. Hair that has too much slip can slide out of your fingers, while overly dry hair can tangle. Second-day hair often holds a braid more effectively than freshly washed strands. If your hair is very silky, lightly misting it with water or working a small drop of hair oil through your ends can provide some grip. Create a clean parting back toward your crown using a wide-tooth comb or your fingertips, ensuring loose strands do not cross into your working zone.
Step 2: How to Start a Dutch Braid at the Crown
Gather a small triangle of hair at your front hairline, roughly two to three inches wide. Divide this section into three equal strands: left, center, and right. Hold the left strand with your left thumb and index finger, the right strand with your right thumb and index finger, and let the middle strand rest between your palms. Keep your hands close to your scalp right from the start to prevent early slack.
Step 3: Establish the Underhand Crossing Pattern
Begin your base weave without adding any extra hair yet. Take the right strand and pass it underneath the middle strand; the right strand now becomes the new middle strand. Next, take the left strand and pass it underneath the new middle strand. Pull lightly to secure this initial cross against your scalp. Completing this single stitch locks the three strands in place and establishes the underhand rhythm for the rest of your plait.
Step 4: Incorporate New Hair Strands into the Base
Now begin incorporating hair from the sides. Smooth a thin horizontal slice of loose hair from your right temple and combine it with your right strand. Take this combined right section and pass it underneath the center strand. Repeat the motion on the left side: gather a thin horizontal slice from your left temple, merge it with the left strand, and pass it underneath the center strand. Always smooth each addition with your fingers before crossing to keep the braid sleek.
Step 5: Transition Across the Nape for 1 Dutch Braid
As you work past your ears and approach the nape of your neck, arm positioning shifts. Keep your hands anchored firmly against the curve of your skull. Pulling your hands outward creates a loose pouch at the base of your neck. Gather the final sections of hair along your lower neckline, cross them underneath the middle, and ensure all remaining hair is integrated into the three main strands before moving past the nape. If you enjoy a fuller, wider tail below the nape, try our beaver tail braid next.
Step 6: Finish the Plait and Secure with Soft Ties
Once all scalp hair is incorporated, continue the underhand weave down the remaining length of your hair. When you reach two to three inches from your ends, secure the braid. Standard elastic bands can pinch and crease fragile hair tips. Securing your braid with a soft fabric tie, such as a scrunchie or a fabric-covered tie, can be kinder to the ends than a thin elastic. For extra dimension, gently pull on the outer edges of the braid loops to pancake them slightly, creating a fuller silhouette. If securing the end feels fiddly, this short guide on how to use a hair tie can help.
Studio Tips for Clean Tension and Long-Lasting Plaits
Maintain balanced tension by keeping your knuckles resting lightly against your scalp and relying on finger muscle memory rather than looking directly into a mirror.
In our Ho Chi Minh City studio, every textile design is built through slow, repetitive hand movements. We see firsthand how small adjustments in hand angles make the difference between an uneven project and a balanced finish. When you learn how to do a dutch plait on yourself, these practical studio principles can help you plait more evenly and with less fatigue.
Trust muscle memory over mirror reflections. Watching your hands in a bathroom mirror often reverses your natural spatial coordination, causing you to accidentally cross hair over instead of under. Face away from the mirror while establishing your underhand rhythm. Trust the sensation of your fingertips gliding along your scalp, and only turn to check the mirror once you have secured the braid tail. You can browse our handmade scrunchies and hair ties here when you are ready to finish your braid.
Dampen fingertips to tame baby hairs along the hairline. Flyaways around the forehead can disrupt the clean edge of a Dutch braid. Rather than applying heavy, stiff styling gels that make restyling difficult, lightly moisten your fingertips with water or a dab of lightweight botanical oil before smoothing sections. This can help control stray baby hairs while keeping the weave soft to the touch.
Pair the braid with complementary linen accessories. A finished Dutch plait gives you a raised ridge that can show off small accessories. At BabunobGem, we often pair braided styles with hand-embroidered linen barrettes, botanical claw clips, or snap clips placed along the base of the plait. These small-batch pieces add vintage floral warmth to an everyday practical hairstyle. To finish the tail softly, here is how to pick a scrunchie for braids that suits your style.
Try a loose wrap overnight. If you want your Dutch braid to last into the next morning, avoid sleeping directly on rough synthetic pillowcases. Loosen the braid slightly around your nape to ease pulling on your scalp during sleep, and consider wrapping your hair in a soft silk or satin scarf. In the morning, smooth down flyaways with your palms without brushing through the weave.
Common Dutch Braiding Mistakes and How to Avoid Them
Avoid lifting your hands away from your head, adding uneven section sizes, or pulling hairline strands too tightly, as these errors can cause loose braiding and scalp discomfort.
Braiding your own hair comes with a learning curve. Because your arms work behind your back without visual feedback, it is easy to adopt habits that weaken the braid structure or create physical discomfort. Recognizing these common mistakes early allows you to adjust your technique and build a neater braid. If your strands are fine, a scrunchie for thin hair can finish the braid without feeling heavy.
Mistake: Lifting your hands away from the back of your head. When your arms get tired, your natural reaction is to lift your elbows and pull the braid outward away from your head. This changes the angle of tension and leaves a loose, sagging pouch at the nape of your neck. To fix this, consciously keep your knuckles pressed gently against your head as you work, especially when navigating the curve of your occipital bone.
Mistake: Pulling hair too tightly along the hairline. Beginners often confuse tight pulling with a secure hold. Tugging too hard can be uncomfortable along the temples. Hair pulled back tightly over and over can cause traction alopecia (AAD). If your scalp stings or feels sore, take the plait down and start over with looser, more balanced tension. If it continues, see a doctor or dermatologist.
Mistake: Adding uneven hair sections from the sides. Grabbing thick sections on one side and thin sections on the other produces a lopsided braid that leans toward your ear. To fix this, use your index fingernails as sectioning guides. Glide your nail along your scalp in a clean horizontal line from your ear to the center weave, ensuring each added strand matches the thickness of the previous section.
How to Do a Dutch Braid on Yourself FAQ
How do you do a dutch braid on yourself with short or layered hair?
Braiding layered or short hair requires smaller, tighter sections. Begin higher up near your front hairline so shorter bangs are anchored early. As you cross strands under, allow natural ends to tuck beneath the main ridge rather than pulling them outward. Lightly dampening your hair before plaiting helps keep shorter layers contained within the weave.
What is the difference between a Dutch braid and a French braid?
The sole difference is the crossing direction of the three strands. In a French braid, outer strands cross over the center strand, embedding the braid flat into the hair. In a Dutch braid, outer strands cross underneath the middle strand, which elevates the woven ridge on top of the head for a pronounced three-dimensional effect.
Why does my Dutch braid keep turning into a French braid?
This happens because standard braiding habits lead your fingers to cross hair over the middle instinctively. When you lose concentration or glance in a mirror, your hands often revert to overhand weaving. To maintain a true Dutch braid, focus on passing each outside piece under the center strand on every single stitch.
How long does a Dutch braid usually stay in place?
A Dutch plait with balanced tension often holds for much of the day, though this depends on your hair type and how you move. If your hair is clean and silky, applying a little water or texturizing mist beforehand can help it hold longer. Securing the base with a soft tie helps keep the bottom weave from unraveling.
How do I keep my arms from getting tired while braiding my own hair?
Arm fatigue occurs when you hold your elbows high above your head. Rest your elbows on a table or counter while working through the crown section. When you reach the nape, drop your elbows down and tilt your chin slightly downward so your hands can work closer to chest level behind your neck.
Embracing Slow Beauty and Handcrafted Styling
Learning how to do a dutch braid on yourself takes practice, patience, and gentle hand movements. Once you master the underhand cross, you have an everyday hairstyle that can go from busy mornings to relaxed evenings. At BabunobGem, we craft small-batch botanical accessories to go with your braided styles. Be patient with your hands, practice a little each day, and enjoy the process. For a gentle floral-friendly accent at the end of your braid, you can see our linen bow scrunchie here.
New here? Get 10% off your first order
Join our list for new small-batch designs and restocks, or browse the collection now.
Note: Each piece is embroidered by hand, so stitches and colors can vary slightly from the photos. Fit and feel depend on head size, hair type and how you wear it. This guide is for general information only.